Tuesday, 23 August 2011

Sawtooth Star quilt

My first sawtooth star quilt is so very nearly finished. I'm hoping to get it done sometime this week. All I've got to do is the binding, which turns all the rough edges into nice neat ones and secures the whole quilt together. Simples!


Monday, 15 August 2011

!8 today!


I designed a card for my niece, and little sister's birthdays ages ago (I bet you can't guess how old they were). So I thought I'd revisit the design, print them up and see how they go. This is how they now look:


As you can see, I thought I'd go a bit starry eyed this time. When it came to printing them that day, I found a little note from my 6yr old that had been left under my screen. It made me chuckle.
Simple things eh?


Oh yes, and of course you can get your hands on one of these cards here.

Friday, 12 August 2011

Trapunto


I'm really envious of all the people who will be at the Festival of Quilts, in Birmingham. I'd love to go, and will do one year, but looking at my bank account it's probably best that I'm not there this weekend.
However, I'm cheering myself up by planning lots of quilting this weekend. I started up again last night (it feels like ages since I've done any) and then realised that I hadn't blogged about my recent departure into Trapunto.

The butterfly that I made is a great starting point as it uses a bit of each of the main 4 techniques of Trapunto (Italian quilting, French cording, Trapunto and English quilting).


You start with a piece of calico and draw your basic design on in pencil, faintly. Then baste it together with a piece of butter muslin underneath. Then using a simple running stitch, you just sew along the lines of your design.


Once you've sewn a whole area, you can start padding it out with toy stuffing. You push it in through the back butter muslin layer, but the trick is not to over stuff! It is very easy to get carried away at this stage.


You can fill channels (like around the edge of the wings) with quilting wool, this is really, really satisfying to do. I could have carried on using that technique (I think this it's the Italian one).


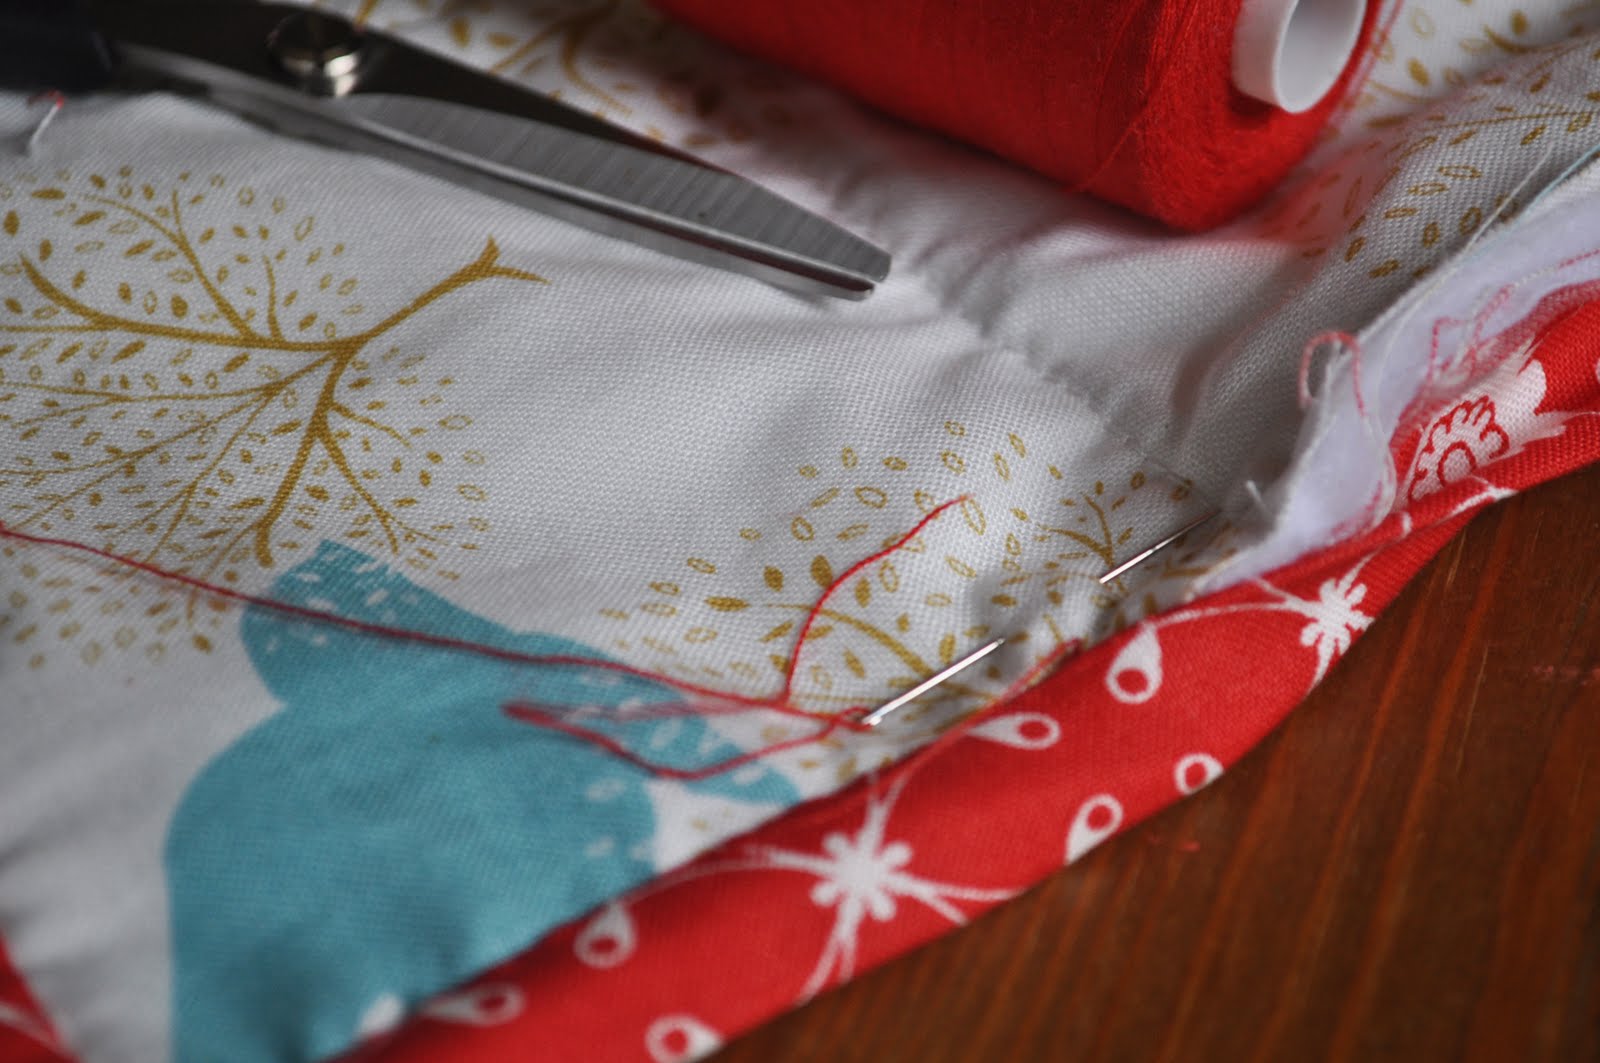
This is about as technical as the equipment gets to create these kind of designs.


I really liked my design at this point, where some pieces are stuffed and some aren't. I did my stitching in two colours to try and brighten up the butterfly, but on reflection I wish I'd just done it in a white/cream cotton as the end result looks much nicer. Oh well you live and learn.


Once you've finished the design, then you put a layer of wadding and batting underneath and quilt around the edges of the butterfly as you would quilt a normal quilt top. This is the stage where I started to dislike the design. It all got too puffy for my liking. As the wadding makes all the padding stick out even further - this is where you realise just how much you over stuffed your design.


But I'm really glad I did it. It's quite quick to do, this section only took a few hours, and it's also a great one to do in front of the TV or while you're chatting to someone. 

The lady who taught me is called Sylvia Critcher, she's currently getting her website built but sells patterns, and all the equipment needed to make them, at various shows (I've seen her at Chilford before). Otherwise you buy off her mail order service, call her on 01752 462653 for details.

Here's some examples of her work:


Thursday, 11 August 2011

Teacher's presents

A few months ago (well the beginning of the year) I was in desperate need for a new bag, so I bought the HOOT! tote pattern from Cloud 9 fabrics.


I wasn't able to buy the blue owl fabric instantly, like I wanted, so instead I bought some of the nursery fabrics and made the tote up with them. It was really, really, easy to make and I used the bag instantly hence me forgetting to blog about it here.

My daughter's class is called 'foxes' so I thought for the teacher's presents it would nice to do a smaller sized tote with a fox face on the front. Seemed simple enough.


I felt rather clever that I'd gone and bought the fabric in May, leaving plenty of time to make up the bags, Ha! I was wrong. In my head I felt the deed was done, and yet in actual fact I had forgotten all about actually making them up, that is until three nights before the end of term when it finally sunk in. So after a couple of frantic nights sewing, they were done


The photos had to be hurriedly taken as my daughter was wrapping them up to take in that day.


Tuesday, 9 August 2011

Dinos…

I have finally printed my dino cards!


Thanks for your comment, Beth, about white on bright colours. I did think about it a lot, and in the end dummied them all up in full colour to decide, and as you can see I did go with the white text. They just seemed a bit more punchier in the flesh, as it were.


I printed them in just 3 colour ways: lime green, aquamarine and mango. I thought these made nice friendly looking dinosaurs.


I'm a bit worried that from these photos you can't tell that the neck and tail are folded so that they stay in position when the card is stood up. Maybe I should do a shot of it from an end perspective.


Anyway, they come creased and folded, ready for you to write your message on the inside, and they're now in my shop.


Sunday, 7 August 2011

Where did the time go…


Wow July flew past so quickly, along with all the school plays, sports days, school trips etc it's also a busy time for birthdays round here, including my daughter's. She was 6 this year, and I just thought I'd show the fantastic cake a friend made for her. Wish I was that clever, it was beautiful.


It was also a big birthday for my cousin. Hopefully he enjoyed the amazing Storeyshop card I got made for him, I am so in complete awe of Helen's scalpel prowess. They really are unbelievably well cut.